Showing posts with label sugar how-to's. Show all posts

Saturday, March 5, 2011

Our Valentine's Goodies for 2011

Wow!!  I need to get on the ball and get this blog updated!!  Where the heck does the time go!!  

Here's some of the goodies I made for February.
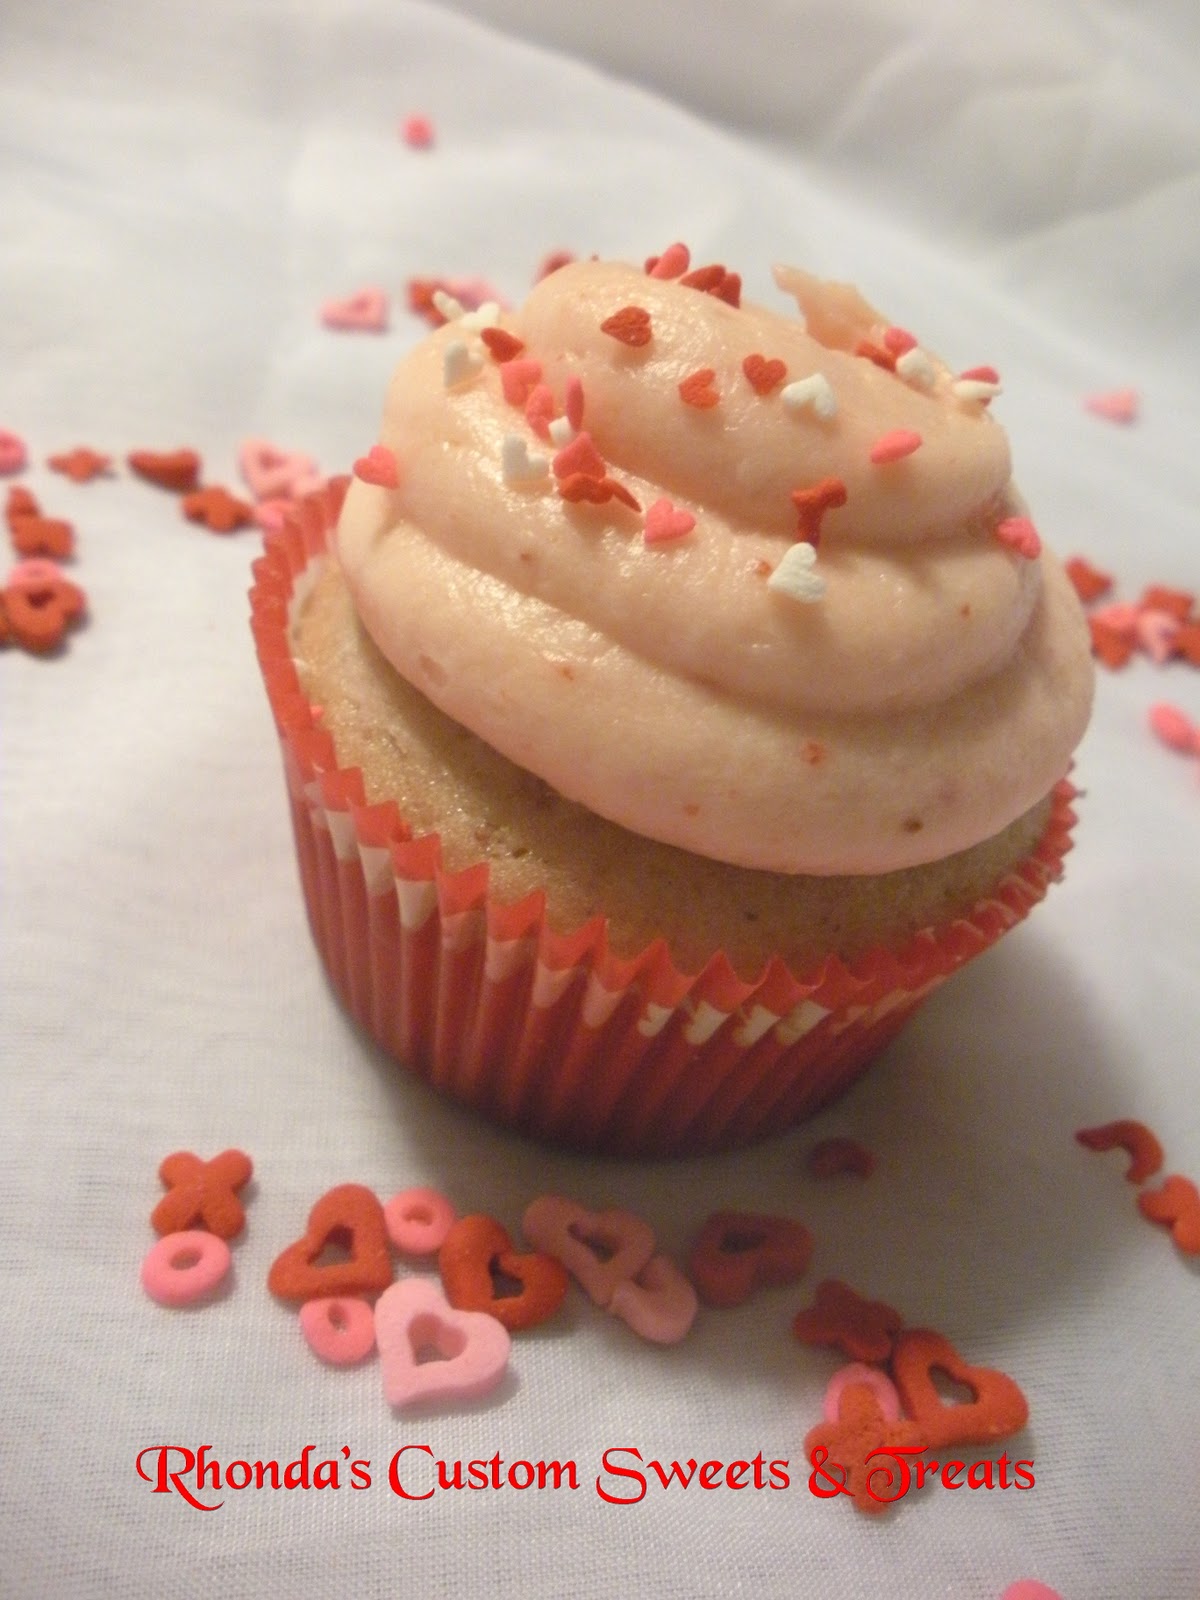
Here is a strawberry cupcake that I did just because it sounded soooooo good!!!  And you know what?  It was!  I posted the recipe on our Sugar Teacher's Blog.  You can find it here...


Below are some chocolate hand dipped Oreo's that the grandkids, Kaitlyn and I made.


These heart Oreo's are made using a Wilton cookie mold.  They're kind of tricky to make!  I had to put the red in, making sure I didn't fill it too much, then I put them in the freezer to harden.  I put a very thin layer of the chocolate (white or brown) and let the harden in the freezer for a few minutes.  Then I run the melted chocolate down the sides and let harden again.  I tried to do it like the directions say on the mold, but it would never look nice!!  Go figure!

Next we made dipped pretzel rods.  These are yummy!  I love the sweet and salty taste these have.  I think the pictures are pretty self explanatory.  If you want more details, let me know!!
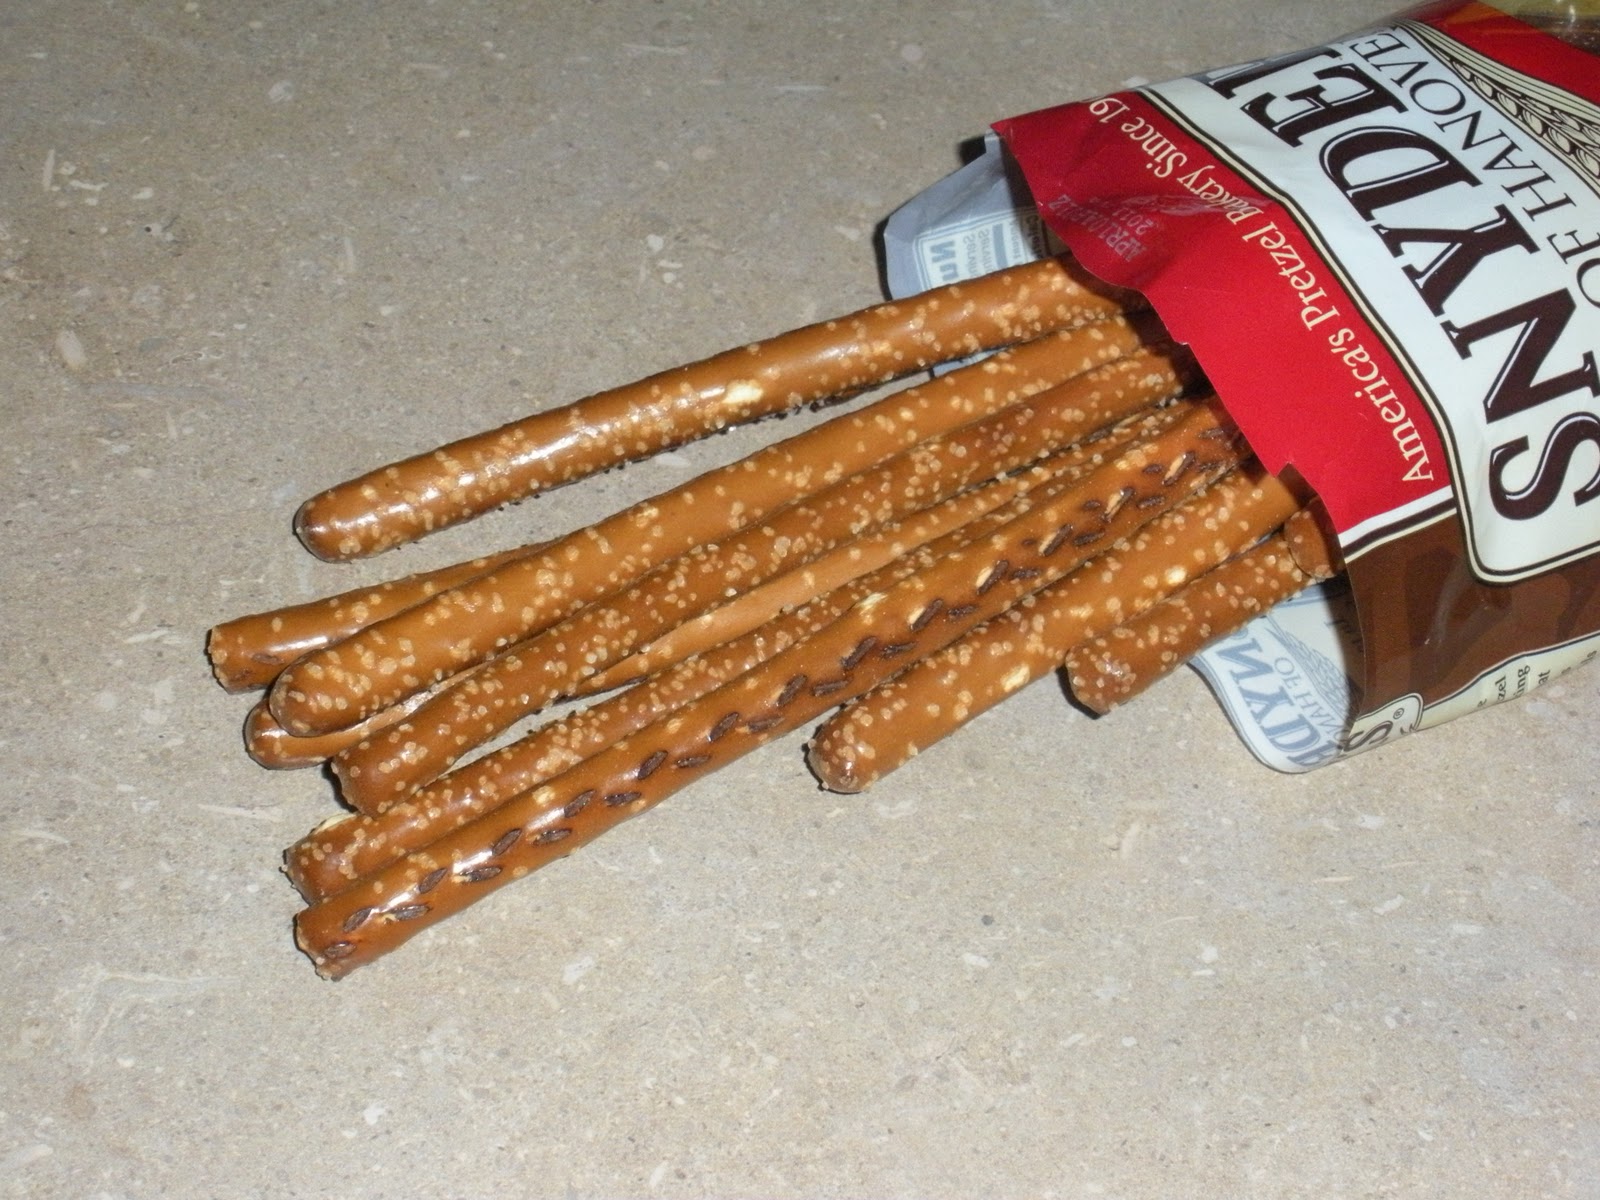


Just make sure you put the sprinkles on before the chocolate hardens!!!


We had a Valentin's party over at my daughter's house.  

Here's her table set up and the one below is for Carlee and Kailey


We had heart shaped pizza, salad and cake pops for dessert!!  

Tuesday, March 17, 2009

Ice Cream Cake Tutorial

Just letting everyone know that my ice cream cake tutorial is now up on Sharing and Caring blog!! Go check it out!!

Friday, February 13, 2009

Valentine Cookies

There were Valentine cookies everywhere! Now there are not any in site! They went fast! I do have some unfinished ones left and I'm not sure if I'm going to be able to get to them!!

So I thought I would give a few tips on how I do my cookies. Sorry...no recipes!

Use your favorite sugar cookie recipe or find some great ones on Cake Central. Cut and bake as usual.

Thought I would show you the rolling pin I use. It works best for me since RA has left me with hands that don't work properly.


As soon as your cookies come out of the oven, use something that will flatten your cookies out. I find that my fondant smoother works best.

When your cookies are cool, outline the cookie with an icing of your choice. I use a glaze and then use royal icing for the details. I also flavor my royal icing using the same flavorings that I used in the glaze.

Quickly pour thinned our glaze onto the cookie before the outline has a chance to dry. It gives it a nicer appearance. If you are outlining with a different color, let it dry for a few hours before you filling it in. That way you will prevent the two colors from bleeding.

Decorate as desired!

This is what my table looks like while I wait for the glaze to set up. It sometimes takes two days to do the various steps! These are not "quick" cookies!!

Valentine cookies 2009


Saturday, January 3, 2009

Homemade Caramels

My homemade caramels are getting fairly popular around here!! I have been making these at Christmas time for the last 5 years. This year I even made two batches and it all disappeared! I never had a chance to send my Mom any this time!!


I'll still send you some Mom!!!


This is the easiest caramels to make and the best tasting!!!


Here's what you need:
2 lbs. brown sugar
2 cups corn syrup
2 cups butter
2 cans sweetened condensed milk
2 dashes salt
1 teaspoon vanilla


In a large metal pot over medium heat, add corn syrup and brown sugar and stir until brown sugar is melted. Add butter and melt. Add sweetened condensed milk and salt. Cook and stir constantly until a candy thermometer reaches 245 to 250 degrees F. (I have to stop at 230 because of our altitude of 6000 ft.) You can also do the cold water check making sure it is just a little about the soft ball stage. Remove from heat and add the vanilla. Pour into a 9"x13" pan that has been sprayed with butter Pam.

Let cool completely before removing from the pan

Cut into small squares and wrap in wax paper or decorative foils that you can buy at a cake or candy shop


Be sure to only make these for giving out and keep a little for yourself!!! I swear they will be in your mouth whenever you walk by them!!!!


Hope you enjoy them as much as we do!!! Let me know if you make them!!


Sunday, August 31, 2008

Eastern Idaho State Fair Sugar Art Show

Yesterday was our cake show. I'm not sure if I should do these!! I can't get my life organized! I didn't even want to put my cake in because I knew it wasn't what it was supposed to be. Because of lack of time management, procrastination ("Oh this shouldn't take too long!!!"") and tons of other every day this you have to do (like having to take time to cook and eat) my cake didn't get everything on it! But that's my fault! Oh and I had a wedding cake on top of that! Phew!!! Now I'm tired, sore and feeling a little sick. The wedding cake will be in my albums.

Anyway, here's my cake and sugar flower display. I didn't place anywhere with my cake and I received second place on my rose display. I'll also add a few pics on how I did some of it.

I'll show the cake first. The cake was to be patterned after a plate design. I used a plate that my hubby Joe brought home from England.

I started trying to figure out how I can incorporate the scallop on the edge of the plate, so I ended up with this idea. I cut a round piece of fondant, put my styrofoam seperater on it and then put sucker sticks in to make it look wavy.

Naked cake!!


Then I steamed the whole cake and cake board with a clothes steamer, thinking it would give it the shiny look lthat a plate has.
When I got to this point, I was doing too many other things and was able to only get a few flowers done. I was going to hand paint some greenery and small flowers in the back behind where I was going to put my sugar flowers and the topper was supposed to be a teacup, but I kept screwing up and ended up putting leaves and petals on it for a vase like look and crappy flowers. Oh well!! Here's what went to the show.

Now for my rose display. I was pretty proud of this one! But the judges sure know how to squash those feelings!! Plus my roses did have cracks in them andI forgot to bring my write ups telling about my flower and showing the steps to do it. So I'll do it here!! My rose inspiration was of a Diamond Jubalee Rose picture that I found on the internet.


I forgot to take a picture of the cone base that I start my roses on!! The first picture I already have two petals on the cone base


I wrap 4 to 5 of the smaller petals around the base. Then I go to the medium petal cutter and do about 4 of those and let it dry for a couple of hours.


The next row or two is made up from the large petal cutter. I wire them and lay them on a spoon board that I made and leave them to dry. I dust the bottom half with a slightly darker shade of yellow.


Then I add them carefully to the main rose and dust them. With these being on wires, they can be moved and rearranged however you like.


I made a full rose, half rose and a bud. I carved a floral cone into a vase and covered it with fondant and put a ribbon around the bottom to hid some little imperfections! hehe The bottom board was covered in fondant and impressed with a diamond impression mat and dusted black and painted the lines with gold luster dust.


Anyway..it's still fun to go to the cake show and very good experience. I just have to take what the judges said and use their 'suggestions' to make it better next time!!